
 Sometimes you just need to get away from it all. A few weeks ago after a particularly long week we packed up the car and headed to the ocean on a very spur of the moment trip. We woke up to a clear, sunny day (for those of you who live in Washington a clear day at the ocean rarely happens in the summer let alone in October!). Feeling incredibly blessed by the beautiful day we spent the day walking along the water, playing in the sand, and, of course, taking lots of pictures! We finished off the day with ice cream cones and talking about what we are grateful for. Our lives get so busy sometimes its hard to remember what’s important. Taking a day to unplug, getting away from our hectic schedules, and spending some time enjoying a beautiful day with good company helps put life into perspective.
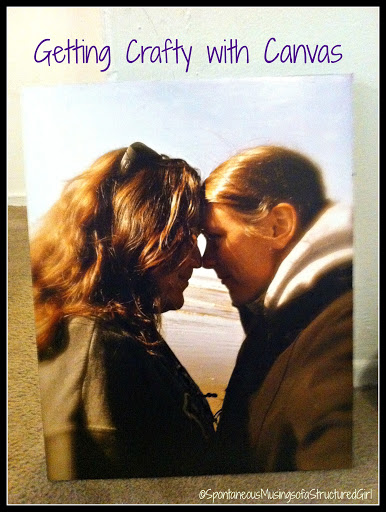
When we got back I was really excited to see how well all of our pictures turned out. Since all of my picture frames are currently in storage I decided to get crafty!
I found this post by Girl. Inspired and thought it looked easy enough even I could do it – turns out I was right!
Since I am not always the best at following directions I made a few modifications to her project. Instead of using scrapbook paper I painted the sides of the canvas with black acrylic paint and I chose not to paint the edges of my picture – both of these ideas are great but I wanted to keep it simple for my first time around.
For this project you will need:
- A blank canvas
- A photograph the same size as your canvas
- Acrylic paint (I chose black but you can use any color)
- Modge Podge (matte not glossy)
- A paint brush for the paint
- A spongy paint brush for the modge podge
- An exacto knife (maybe)
I chose to do a 16×20 canvas. At first I was afraid it was going to be too big but it turned out to work well for the wall I hung it on.
First, you are going to paint the edges of your canvas going up on to the canvas to make sure the white canvas wont be visible. Use long brush strokes to avoid white spots or streaks on your canvas. I actually recommend doing this the day before you put your picture down to make sure it dries completely – or at least be more patient than I was!

After the paint is completely dry you are going to cover the top of the canvas with modge podge. While the modge podge is still wet you are going to carefully place your picture on top of it. You will want to press your picture down starting in one corner and working your way up. To make sure my picture was not going to bubble up when it was drying I took a soft towel and rubbed very lightly over the whole thing. I also turned my canvas picture side down to dry.
After you picture is dried you may notice that one or more edges of your picture are slightly bigger than your canvas. If this happens take an exacto knife and cut the excess picture off – you will want to make sure your knife is very sharp to avoid ripping the picture.
Now you are ready to seal your picture. I will admit this part made me the most nervous – I wasn’t 100% sure the modge podge would dry nicely. This is where using a wide spongy brush comes in handy – you want to make sure you don’t have a lot of streak lines. Here is what it looks like at first (insert panicking because I just ruined my picture!!):

but wait 15-30 minutes (without touching it!) and it will dry and look like this:
Once your picture is dry you are ready to show it off!
Tips and Tricks:
– Make sure your hands are clean and dry when working with your picture (aka make sure the black paint is completely off of your hands before you touch your picture… oops!)
– Paint your canvas the night before do the project – that way it will have time to dry completely before you put your picture on it.
– Get artsy with your picture – make it black and white or sepia, blur the edges, make the colors bolder. Any of these are easy to do with PicMonkey, Picasa (free download) or iPhoto if you have a Mac.
– Canvas can be expensive – art stores usually have a pack of canvases that may actually be the same price (or cheaper) than buying just one – I have no idea why but there ya go!
Question of the day: If you could get away from it all for a day where would you go and who would you take with you??


